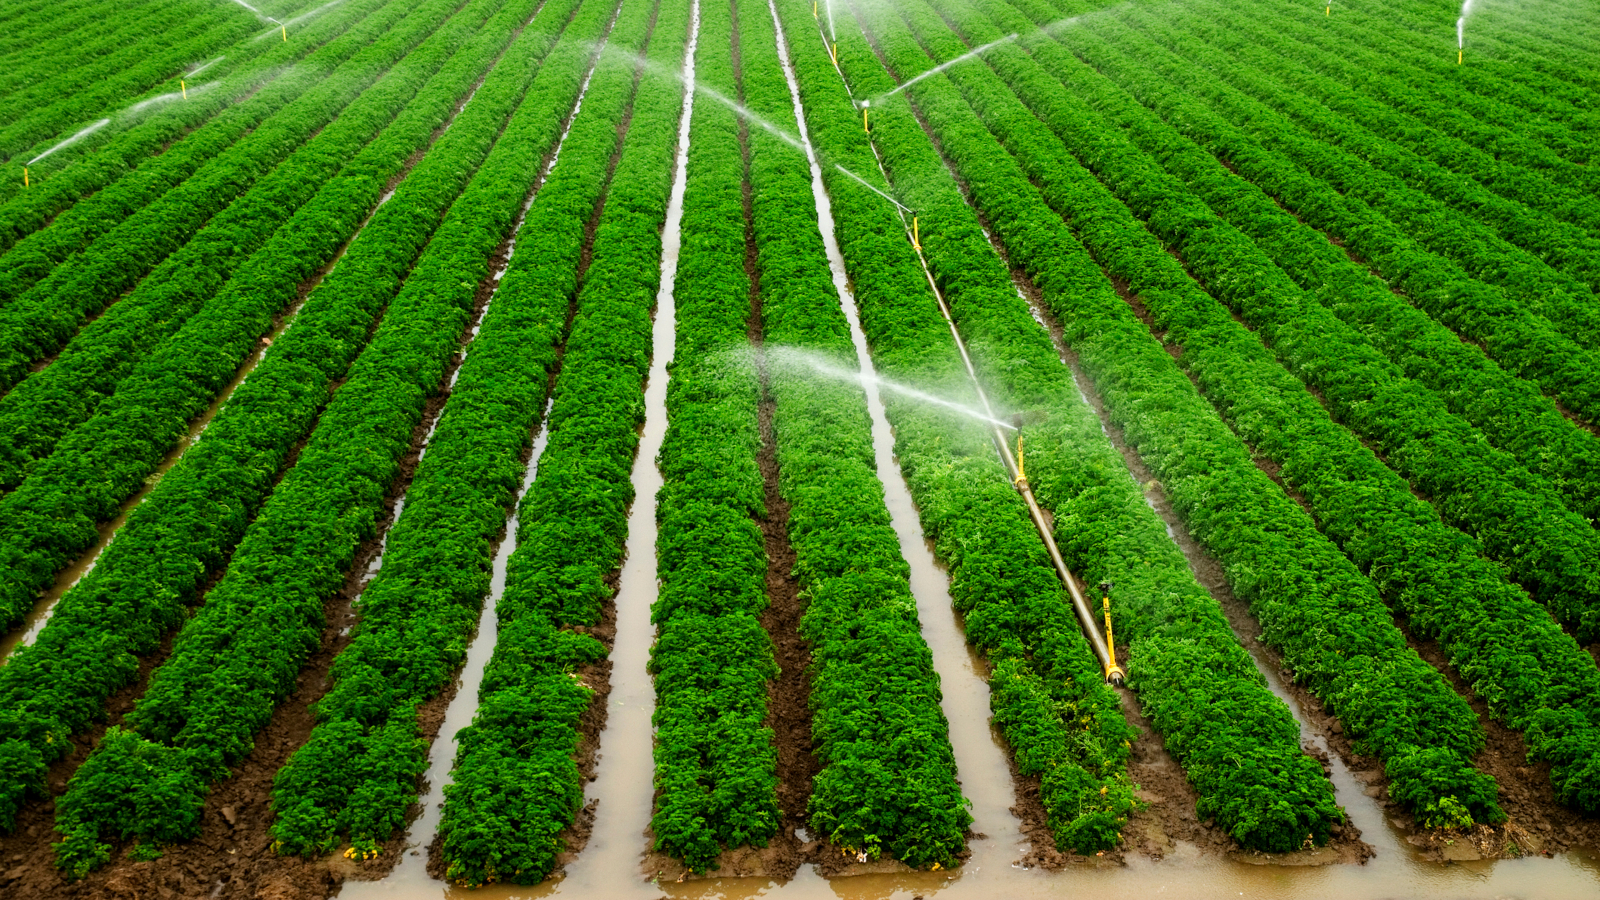
Effective irrigation design and installation are crucial components of maintaining a healthy and lush landscape. Whether you are a homeowner looking to keep your garden vibrant, a landscaper aiming to optimize water use, or a business owner wanting to maintain a pristine outdoor environment, a well-designed irrigation system can save time, money, and water. This comprehensive guide will explore the fundamentals of irrigation design, the installation process, and tips for ensuring a successful system.
The Importance of Proper Irrigation
Proper irrigation is essential for several reasons:
- Water Conservation: An efficient irrigation system minimizes water waste by delivering the right amount of water to specific areas. This is particularly important in regions with water restrictions or scarcity.
- Plant Health: Consistent and appropriate watering promotes healthy plant growth. Overwatering or underwatering can lead to a variety of plant health issues, including root rot, stress, and pest problems.
- Time Savings: Automated irrigation systems save time compared to manual watering, allowing you to focus on other gardening or landscaping tasks.
- Cost Efficiency: By reducing water waste, a well-designed irrigation system can lower your water bills. It also reduces the need for costly plant replacements due to improper watering.
Fundamentals of Irrigation Design
Designing an effective irrigation design and install system involves several key steps:
- Assessment and Planning:
- Site Analysis: Evaluate the landscape to determine the water needs of different areas. Consider factors such as soil type, plant species, slope, and exposure to sunlight.
- Water Source: Identify the water source and its capacity. This could be a municipal water supply, well, or rainwater harvesting system.
- Zoning: Divide the landscape into zones based on plant types and their specific water requirements. Different zones might include lawns, flower beds, shrubs, and vegetable gardens.
- Choosing the Right Components:
- Sprinklers: Choose sprinklers based on the area they need to cover. Options include fixed spray heads, rotor heads, and drip emitters.
- Pipes and Fittings: Select the appropriate size and type of pipes to ensure efficient water delivery without pressure loss.
- Valves: Use valves to control the flow of water to different zones. These can be manual or automated.
- Controllers: Install an irrigation controller to automate watering schedules. Modern controllers offer features such as weather-based adjustments and remote access.
- Layout Design:
- Hydraulic Design: Calculate the water pressure and flow rate needed for each zone. Ensure the system can handle the total demand without significant pressure drops.
- Pipe Layout: Design the pipe layout to minimize friction loss and ensure even water distribution. Consider the placement of pipes to avoid damage from foot traffic or gardening activities.
- Sprinkler Placement: Position sprinklers to provide overlapping coverage and avoid dry spots. Ensure sprinklers are spaced appropriately to prevent overwatering.
Installation Process
Once the design is finalized, the installation process can begin:
- Preparation:
- Marking and Digging: Mark the locations of trenches for pipes and sprinkler heads. Use a trenching machine or shovel to dig trenches to the required depth.
- Laying Pipes: Lay the main supply line and branch lines in the trenches. Connect pipes using appropriate fittings and ensure there are no leaks.
- Installing Components:
- Sprinklers and Emitters: Install sprinklers and drip emitters according to the design. Ensure they are level and properly secured.
- Valves and Controllers: Install control valves in accessible locations. Connect valves to the main supply line and zone lines. Install the irrigation controller and wire it to the valves.
- System Testing:
- Pressure Testing: Test the system for leaks and ensure all connections are secure. Check the water pressure at different points to ensure even distribution.
- Coverage Testing: Run the system to check the coverage of sprinklers and emitters. Adjust the placement or type of sprinklers if necessary to achieve uniform coverage.
- Final Adjustments:
- Backfilling: Once the system is tested and adjusted, backfill the trenches carefully, ensuring pipes and components are not damaged.
- Programming the Controller: Set up the irrigation controller with appropriate watering schedules for each zone. Consider factors such as season, plant needs, and local watering restrictions.
Tips for a Successful Irrigation System
- Regular Maintenance: Inspect the system regularly for leaks, clogged emitters, and broken sprinklers. Clean or replace components as needed to maintain efficiency.
- Seasonal Adjustments: Adjust the watering schedule based on seasonal changes. Reduce watering in cooler months and increase it during hot, dry periods.
- Watering Timing: Water early in the morning or late in the evening to reduce evaporation and ensure water reaches the roots effectively.
- Use Mulch: Apply mulch around plants to retain moisture, reduce evaporation, and suppress weeds. This can reduce the need for frequent watering.
- Monitor Weather Conditions: Use weather-based controllers or sensors to adjust watering schedules based on rainfall, temperature, and humidity.
- Soil Health: Maintain healthy soil by adding organic matter and ensuring proper drainage. Healthy soil retains moisture better and supports robust plant growth.
- Professional Assistance: If you are unsure about any aspect of irrigation design or installation, consider hiring a professional. Experienced landscapers and irrigation specialists can ensure the system is designed and installed correctly.
Choosing a Professional Irrigation Service in Auckland
When selecting an irrigation service in Auckland, consider the following factors:
- Experience and Expertise: Choose a company with extensive experience in irrigation design and installation. Check their portfolio and ask for references.
- Certifications and Licensing: Ensure the company is certified and licensed to perform irrigation work. This ensures they meet industry standards and regulations.
- Customer Reviews: Read reviews and testimonials from previous clients to gauge the quality of their work and customer service.
- Detailed Proposals: Request detailed proposals that outline the scope of work, materials to be used, and costs. A clear proposal helps avoid misunderstandings and ensures transparency.
- Warranty and Support: Choose a company that offers a warranty on their work and provides ongoing support for maintenance and repairs.
A well-designed and installed irrigation system is a vital component of any healthy, vibrant landscape. By understanding the fundamentals of irrigation design, selecting the right components, and following proper installation practices, you can create an efficient and effective irrigation system. Regular maintenance, seasonal adjustments, and professional assistance when needed will ensure your system continues to function optimally, conserving water and promoting plant health. Whether you are a homeowner, landscaper, or business owner in Auckland, investing in a quality irrigation system will pay off in the long run by enhancing the beauty and sustainability of your outdoor spaces.